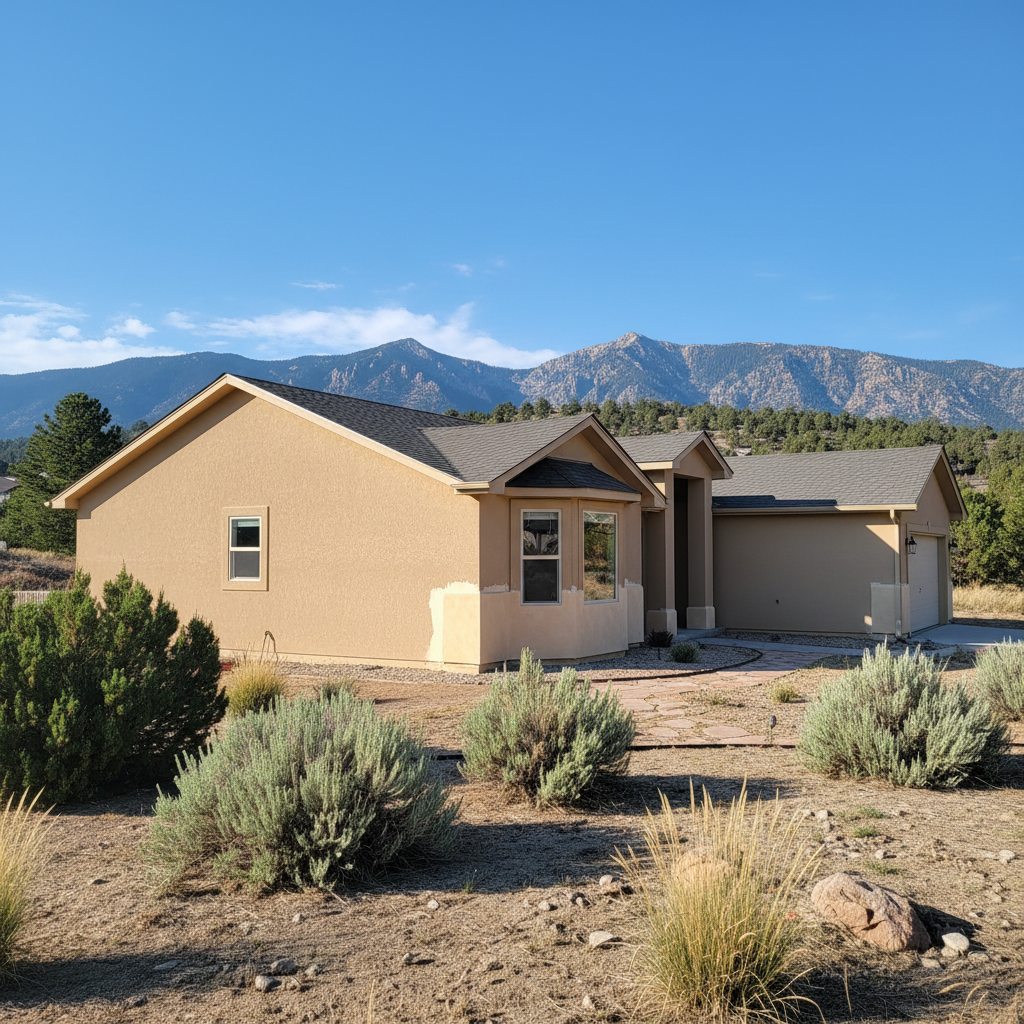
So, you've got some stucco damage and you're thinking about getting it fixed. Good call, honestly. Ignoring small cracks or water stains now can turn into a much bigger, much more expensive headache later. I've seen it happen too many times around here, especially with some of the older homes up in Willow Creek or Hidden Valley where the original stucco might just be showing its age.
Planning a stucco repair isn't like picking out a new paint color. There are a few moving parts, and knowing what to expect can save you a lot of stress. Plus, it helps make sure you get a quality job done right the first time. Let's walk through it.
Understanding Your Stucco Repair Timeline
People always ask me, "How long is this going to take?" And honestly, it depends on the scope of the damage. A small patch job might be a day or two of actual work, but a larger repair involving multiple sections or water damage remediation can really stretch things out. Here’s a general breakdown of the timeline you should consider:
- Initial Contact & Estimate (1-2 weeks): You give us (or another reputable company) a call. We'll schedule a visit, check out the damage, and then get you a detailed quote. This can take a few days to a week, depending on how busy we are.
- Scheduling the Work (2-6 weeks out): Once you give the green light on the quote, we'll get you on the calendar. Good stucco contractors are often booked out a few weeks, especially during peak seasons like spring and fall when the weather's just right for this kind of work. Don't be surprised if we can't start next week.
- Permitting (If Needed - 2-4 weeks): For bigger repairs, especially if structural elements are involved or a large chunk of the wall needs replacing, Sandy City might require a permit. Your contractor should handle this, but it definitely adds time.
- Actual Repair Work (1 day to 2 weeks+): This is the hands-on part. Small repairs are quick. Larger jobs mean removing old stucco, possibly fixing sheathing or framing, applying new lath, then the scratch coat, brown coat, and finish coat. Don't forget the drying times between each layer — that adds up.
- Curing Time (Days to Weeks): Even after the finish coat is on, stucco needs time to properly cure and harden. You just can't rush this step.
Factor in weather, too. We can't apply stucco in heavy rain or freezing temperatures, which we certainly get here in Sandy during the winter months. That can push timelines around, unfortunately.
What to Expect During the Stucco Repair Process
When Midway Stucco Company comes out for a repair, we try to keep things as clean and organized as possible, but let's be real, it's a construction site. Here's what you'll likely see:
- Prep Work: We'll protect your landscaping, windows, and anything else near the repair area with tarps and plastic sheeting. This is crucial to keep dust and stucco materials from getting everywhere.
- Demolition: The damaged stucco has to come off. This can be dusty and noisy. We'll cut out the bad sections, often going a little beyond the visible damage to make sure we get to solid material.
- Substrate Inspection & Repair: Once the old stucco is gone, we'll inspect what's underneath – your sheathing, flashing, and framing. If there's water damage, rot, or mold, we have to address that before any new stucco goes on. This is where unexpected costs can pop up if the damage is worse than superficial.
- Lath & Flashing Installation: We'll install new metal lath (that's the mesh that holds the stucco) along with proper flashing around windows, doors, and other openings. This helps prevent future water intrusion. It's a critical step many DIYers miss.
- Stucco Application: We'll apply the scratch coat, then the brown coat, and finally the finish coat. There will be drying times between each layer. The finish coat is where we match the texture and color to your existing stucco as closely as possible.
- Cleanup: Once the work is done and the stucco is set, we'll clean up the site, remove debris, and leave your property tidy.
How to Prepare Your Home for Stucco Repair
You can help make the process smoother for everyone involved:
- Clear the Area: Move patio furniture, grills, planters, and anything else away from the work zone. If you have delicate plants right next to the house, consider covering them or temporarily relocating them if possible.
- Access: Make sure we have clear access to the repair site. Unlock gates if necessary.
- Pets & Kids: Keep pets and children away from the work area for their safety. There will be tools, materials, and active work happening.
- Window & Door Security: While we try to be careful, vibrations from demolition can sometimes cause things to fall off shelves. Secure any valuables near the repair area.
- Communication: If you have any specific concerns or questions during the project, talk to the crew foreman. Don't wait until the very end.
Key Questions to Ask Before Signing a Contract
Don't just go with the first bid you get. Ask these questions to make sure you're hiring the right team:
- "Can you give me references from recent stucco repair jobs in Sandy?" You want to talk to people who've actually worked with them, right?
- "Are you licensed and insured for stucco work in Utah?" This is non-negotiable. Ask for proof. General liability and workers' comp are essential.
- "What's your process for addressing hidden damage, like rot behind the stucco?" You need to know how they handle unexpected discoveries and how that impacts the cost and timeline.
- "How do you ensure color and texture matching with my existing stucco?" Getting a seamless repair is important. They should have a clear plan for this.
- "What kind of warranty do you offer on your stucco repairs?" A reputable company stands behind its work.
- "Will you handle any necessary permits?" Make sure this is part of their service, or understand your responsibility if it's not.
- "What's the payment schedule?" A small deposit is common, but be wary of contractors asking for a huge percentage upfront.
Taking the time to plan and ask the right questions upfront will make your stucco repair project go a lot smoother. It's an investment in your home, so make sure it's done right.